Hey Guys,
This post I will try to cover
some of the basics of Lightning Event.
So if you have reached this post,
I am assuming you have got some basic knowledge of Lightning framework.
So, In brief Lightning Framework
(LF ) works based on component and event driven modal.
So when I say component
based, you might have seen that most of the codes are broken in to
component in lightning development. You will understand more when you start creating
one.
There
are few scenarios I would like to explain.
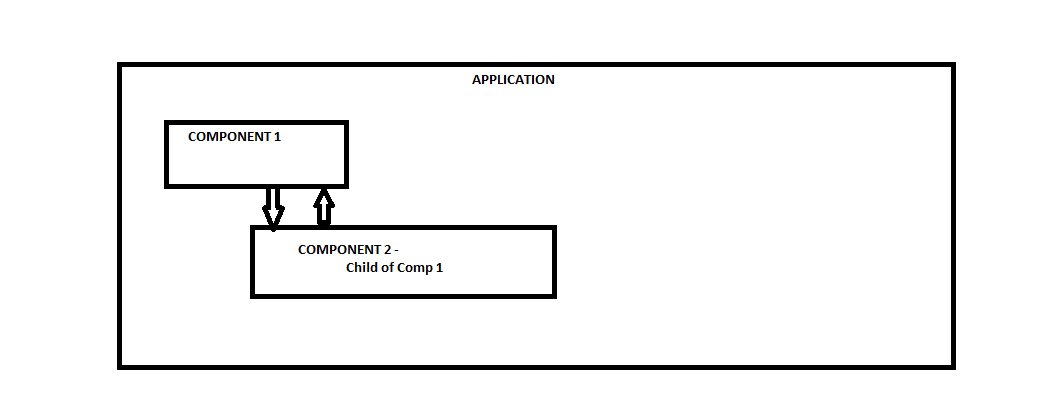
Scene 1: Parent Component has one child and i want to pass some value from Parent to it's Child.
Scene 2:Vice Versa Now . I want to pass some value
from Child Comp to it's parent components. How will you do ?
There are 2 ways For Scene 1 and they are
Way 1. Passing the value as Attribute
Way 2. Sending the values using Lightning Methods.
Way 1. Passing the value as Attribute
Way 2. Sending the values using Lightning Methods.
Way 1 is pretty simple. You will create a
Attribute inside component 2(Child Comp) and will pass the required value from parent
comp.
<comp 2/Child Comp>.js ( you will create a attribute )
<aura:attribute
name="valueExpectedFromParent" type="String" />
And in <Comp 1/Parent comp>.js :
<c: comp2
valueFromParent="String value which i am passing from parent" />
Simple Done. you have just passed
value from Parent to it's child.
But what if we want to pass the
value from child comp to parent comp??
So there comes the first use of
Lightning events.
Lets create few components and understand the same step by step !!!
Refer the code snippet. For demo I will create 2 Lightning Components and to see the result i will create on Lightning App
1st Comp name is
: ParentComp1
2nd comp name is :ChildComp1_PC1. Here for better understanding I gave name as PC1 meaning ParentComp1. Just to let
you know that Comp 2's parent is ParentComp1.
Passing Value from PC1 to
child Component (Scene 1 Way 1):
Create a Component and observe the name from screenshot.


In above screenshot, While
calling the child component, we are setting the attribute value to "Value
set from Parent". SO even though attribute's default value is
"default value set in component" in its own component, the value will be overridden with
the value set in Parent Component( In other words value sent by parent).
Now create an app to see how the component looks on page.

So when you run the app,
the result will be " Lets see how you can pass the value from parent
to child - Value set from Parent"
Note: The default value has been over written from default value set in component to Value set from Parent.
Lets talk about Lightning Methods (Passing Value from PC1 to child Component (Scene 1 Way 2 Using Lightning Method):
Now we will update our components as given in the screenshots!!Lets talk about Lightning Methods (Passing Value from PC1 to child Component (Scene 1 Way 2 Using Lightning Method):
Register the method in Child Component ( cause this method you will call from parent and attributes will act as parameters to the method).


Now comes the parent component. The trouble maker. We need to pass the values from Parent to child. Lets see how it looks after update !!


Comments
Post a Comment